 Advertise with Us
 100% Cashback
 3067 days ago
  3425
3425 How To Complete KYC process For Top App Wallets In India
 FKM Content Writer

If you are Using any e-wallet, for example, Paytm, Freecharge, Ola Money etc. and want to use it in future as well, then here is the news for you. You have to complete your KYC verification before 28 February 2018 so that you can continue your wallet services in future. If you have already completed your KYC process then it's not an issue for you, but if you haven't, then it is the time to consider this message and complete the KYC process for E-wallets.
What Is KYC Verification?
Full Form Of KYC is Know Your Customer, It is a process which is used for business identification and identity verification of clients of any organization. KYC not only helps companies and banks to get the identity verification of their customers, but this also helps customers to avail better facilities provided by companies and banks. For example, you can increase your wallet limit in Paytm if you have completed the KYC verification Process.
Why Is KYC Verification Necessary?
There are two main advantages that are written below:-
1. It helps companies to identify it's customers.
2. The company can trace the suspect easily in case of any wrong activity through e-wallets.
3. Customers can avail more benefits if they complete the KYC process. For example, increased wallet limit.
Requirements To Complete KYC process For E-Wallets
- Aadhar Card Number
- Pan Card
- Voter Id
- Driving License
- Mobile number, registered with Aadhar card/Pan Card/Voter Id/ Driving License.
- E-wallet which you want to verify through KYC process.
NOTE- Id Requirements may vary for different e-wallets.
How To Complete KYC Process For e-wallets - Paytm, Freecharge etc.
Steps, that you have to follow for KYC verification are written below-
- Open the application that you want to verify.
- Select the KYC option.
- A form will appear on your mobile screen fill up the form.
- click on submit button.
- Now, once you submit the form, an OTP will be sent to your Aadhar linked mobile number.
- Enter the OTP on your mobile.
- Click on submit Button.
So, these are the steps, that you have to follow to complete your KYC. For Paytm, you have to follow some extra steps to complete the verification.
KYC Process For Paytm
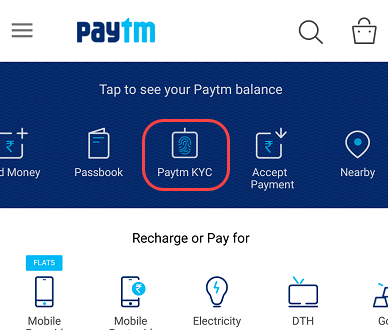
- Open Paytm App on your Phone.
- Click On KYC verification option.
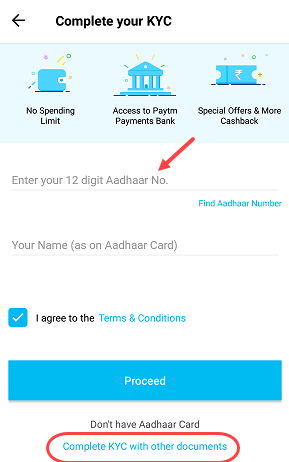
- Enter 12 Digit Aadhar number and name.
- Click on Proceed.
- Now, enter the address and click on "Request Appointment".
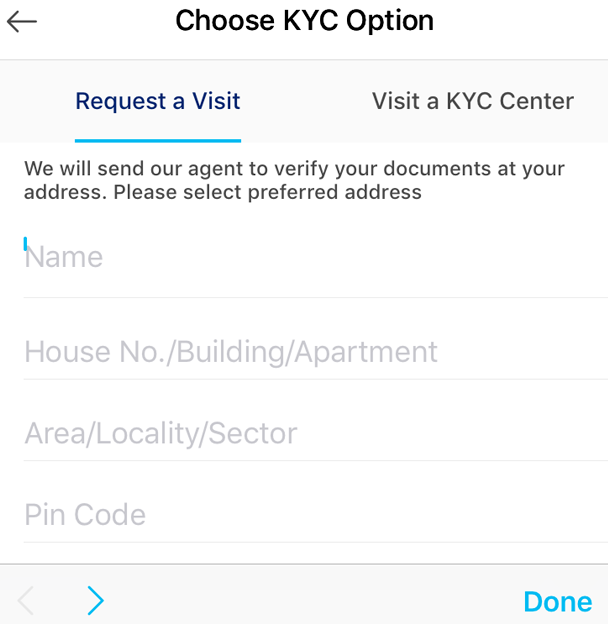
- Now, the agent will visit you at the given address.
- Provide, Pan Card, Aadhar details with your Paytm registered number.
- Once, you are done with this, the agent will ask you for fingerprints for biometric verification.
- After this process, you will get a text message of confirmation of verification.
KYC Process For AmazonPay Balance

- Open Amazon.in On your laptop screen.
- Click on AmazonPay Balance.
- A form will appear on your screen, asking you to fill up 12 Digit Aadhar number.
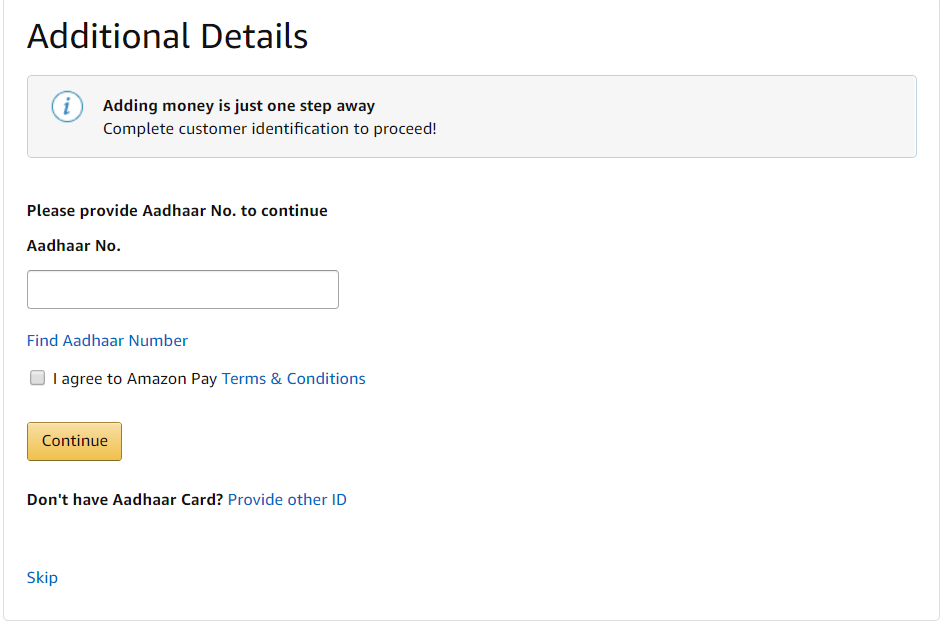
- Fill up the form and enter Aadhar number.
- Click on Continue for verification.
- YAY! you have successfully completed the verification process.
- Once, your wallet is verified from another end, you will get an SMS for the same on your registered mobile number.
Steps To Complete KYC On PhonePe

- Open PhonePe app On your Phone and click on My Account.
- On next Screen, Click on Verify With Aadhar Number.
- Now, Tap on Continue.
- Click on, I Agree.
- Enter 12 digit number and submit.
- Once, you are done with all this process, Click On Generate OTP.
- Now, you will get OTP on your registered mobile number.
- Enter the number and tap on Submit Button.
Steps For KYC Upgrade On PayZap
1.Verify Your Mobile Number
- Open PayZap application.
- Now, go to settings.
- Click On the option of Verify Sim.
- Select the Sim, Number.
- Now, click on Submit.
- Your number will be verified automatically through PayZap.
2. Verify KYC
- Open PayZap Application.
- Go to Manage Card.
- Add your HDFC credit/debit card (Skip if you have done it already).
- Now, recharge/pay your bill through your HDFC card.
- This transaction will automatically fetch your identity details.
- And, your KYC verification will be completed within 2 Business days.
Update Your KYC For FreeCharge
- Open Freecharge On your Phone.
- Click on Update KYC.
- Now Enter Aadhar/Pan/Voter Id number.
- Now, Click On submit.
- Once you are done, You will get an OTP on your registered mobile number.
- Enter the number and tap on Submit button.
- Yay! You have successfully completed the verification process.
- Your wallet will be verified within few hours once you complete the whole process.
Benefits Of KYC Verification
- Higher Wallet Limit:- If you complete the KYC process, your wallet limit will be increased and you can keep Up to Rs. 1 Lacs. In your E-wallet.
- unlimited Transactions:- You, will get the facility of unlimited transactions, once your wallet is verified.
- More Secured System:- Your money will be more secure in terms of online payments because you will have a verified account so if something wrong takes place it will be easy to trace the culprit.
- Better communication:- Communication between company and customers would be easier.
About Author
FKM
Content Writer

0 Comments
Login to Post Comment11